Up to the version 1.41 of IC Imaging Control, the properties of a device could be accessed using the properties %%Auto, %%AutoAvailable, %%Available, %%Default and %%Range. These properties have been depreciated as of version 2.0. The new VCD properties allow more detailed and generic access to the device's properties but require a little more code to be written. If you are happy with the old properties, a new helper class is introduced in version 2.0 that provides access methods to the VCD properties, which are similar to the old way. This chapter shows you how to use this helper class.
The source code for this sample program can be found in the samples\VB6\VCD Simple Property sample source directory. It also uses some files, which are located in the samples\VB6\common directory.
Create a new project and add IC Imaging Control to the form. Before you run the program, select the video device, input and video format as shown in the First Steps in Visual Basic 6 chapter. Alternatively, run the program without selecting a device. In this case, the program shows the device selection dialog provided by IC Imaging Control. If you close this dialog without having made a selection, the program will display an error message and terminate.
In order to use the VCDSimpleProperty class, some files have to be added to the project. Select Project from the menu and then choose Add Class Module. Now click on the Existing tab and browse to the samples\VB6\common directory. Select the file VCDSimpleProperty.cls and click Open. The class is now added to the project. Now we need to add two modules. To do this, select Project from the menu and then choose Add Module. In the dialog, click the Existing tab and browse to the samples\VB6\common directory. Mark the file VCDSimpleModule.bas and click the Open button. Do the same to add the file VCDPropertyID.bas. Now you are ready to use the VCDSimpleProperty class.
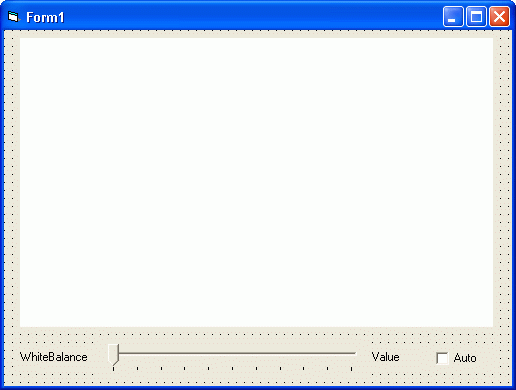
First, we add some controls to the form. They will allow us to manipulate a device property. Add a slider, a label and a check box to the form. Name the slider sldWhiteBalance, the label lblWhiteBalanceValue and the check box chkWhiteBalanceAuto. These controls will be used to manipulate the "WhiteBalance" property of a device.

Of course we need an instance of the helper class in order to use it. Therefore, add a global variable:
The helper class and the controls are initialized in the Form_Load event, so add a Form_Load and insert the following code:
To add functionality to the controls, add a Scroll event for the slider and a Click event for the check box. If these events are called, the "WhiteBalance" property is updated appropriately. The following code will do this:
There are some properties that allow a more detailed access than the one described above. In case of "WhiteBalance" it is possible to specify a value for red and blue and to perform an automatic adjustment for a limited time called one push. These advanced properties can be accessed using the following IDs: VCDElement_WhiteBalanceBlue and VCDElement_WhiteBalanceRed. The "One Push" operation is triggered by calling the VCDSimpleProperty.OnePush method with either VCDID_WhiteBalance, VCDElement_WhiteBalanceBlue or VCDElement_WhiteBalanceRed as a parameter.
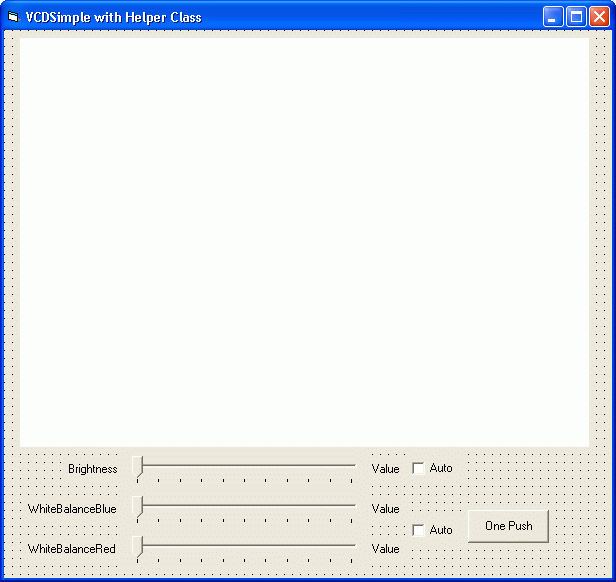
The following sample shows you how to access "WhiteBalanceBlue" and "WhiteBalanceRed" property. It will also access the "Brightness" property to show the difference between the standard property and the advanced way.
After setting up the project as described in the "Setting up the Project" section of this document, add some controls to the form. Add 3 sliders and name them sldBrightness, sldWhiteBalanceBlue and sldWhiteBalanceRed. Now add 2 check boxes. Label them Auto and name them chkBrightnessAuto and chkWhiteBalanceAuto respectively. Finally, add a button to the form and name it cmdWhiteBalanceOnePush. Label the button One Push.

Now add an instance of the helper class to your code:
The helper class and the controls are initialized in the Form_Load event. Add a Form_Load event and insert the following code:
As you can see above, the initialization of the sliders for the "WhiteBalanceBlue" and "WhiteBalanceRed" value is done in exactly the same way as the initialization of the slider for the "Brightness" value. The only difference is that you use the appropriate "Element ID" to specify the property instead of the "Item ID".
Now we need some events to update the properties accordingly. First, add a Scroll event for every slider. The code for the Scroll event of the "Brightness" slider looks as follows:
The Scroll event for the "WhiteBalanceBlue" resp. "WhiteBalanceRed" slider is similar.
Add a Click event for both check boxes. The code for these looks as follows:
Now add the Click event for the cmdWhiteBalanceOnePush button and insert the following code: